Description
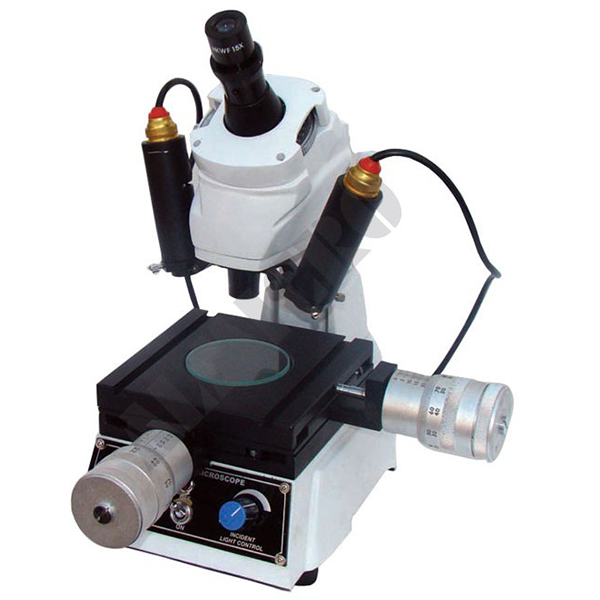
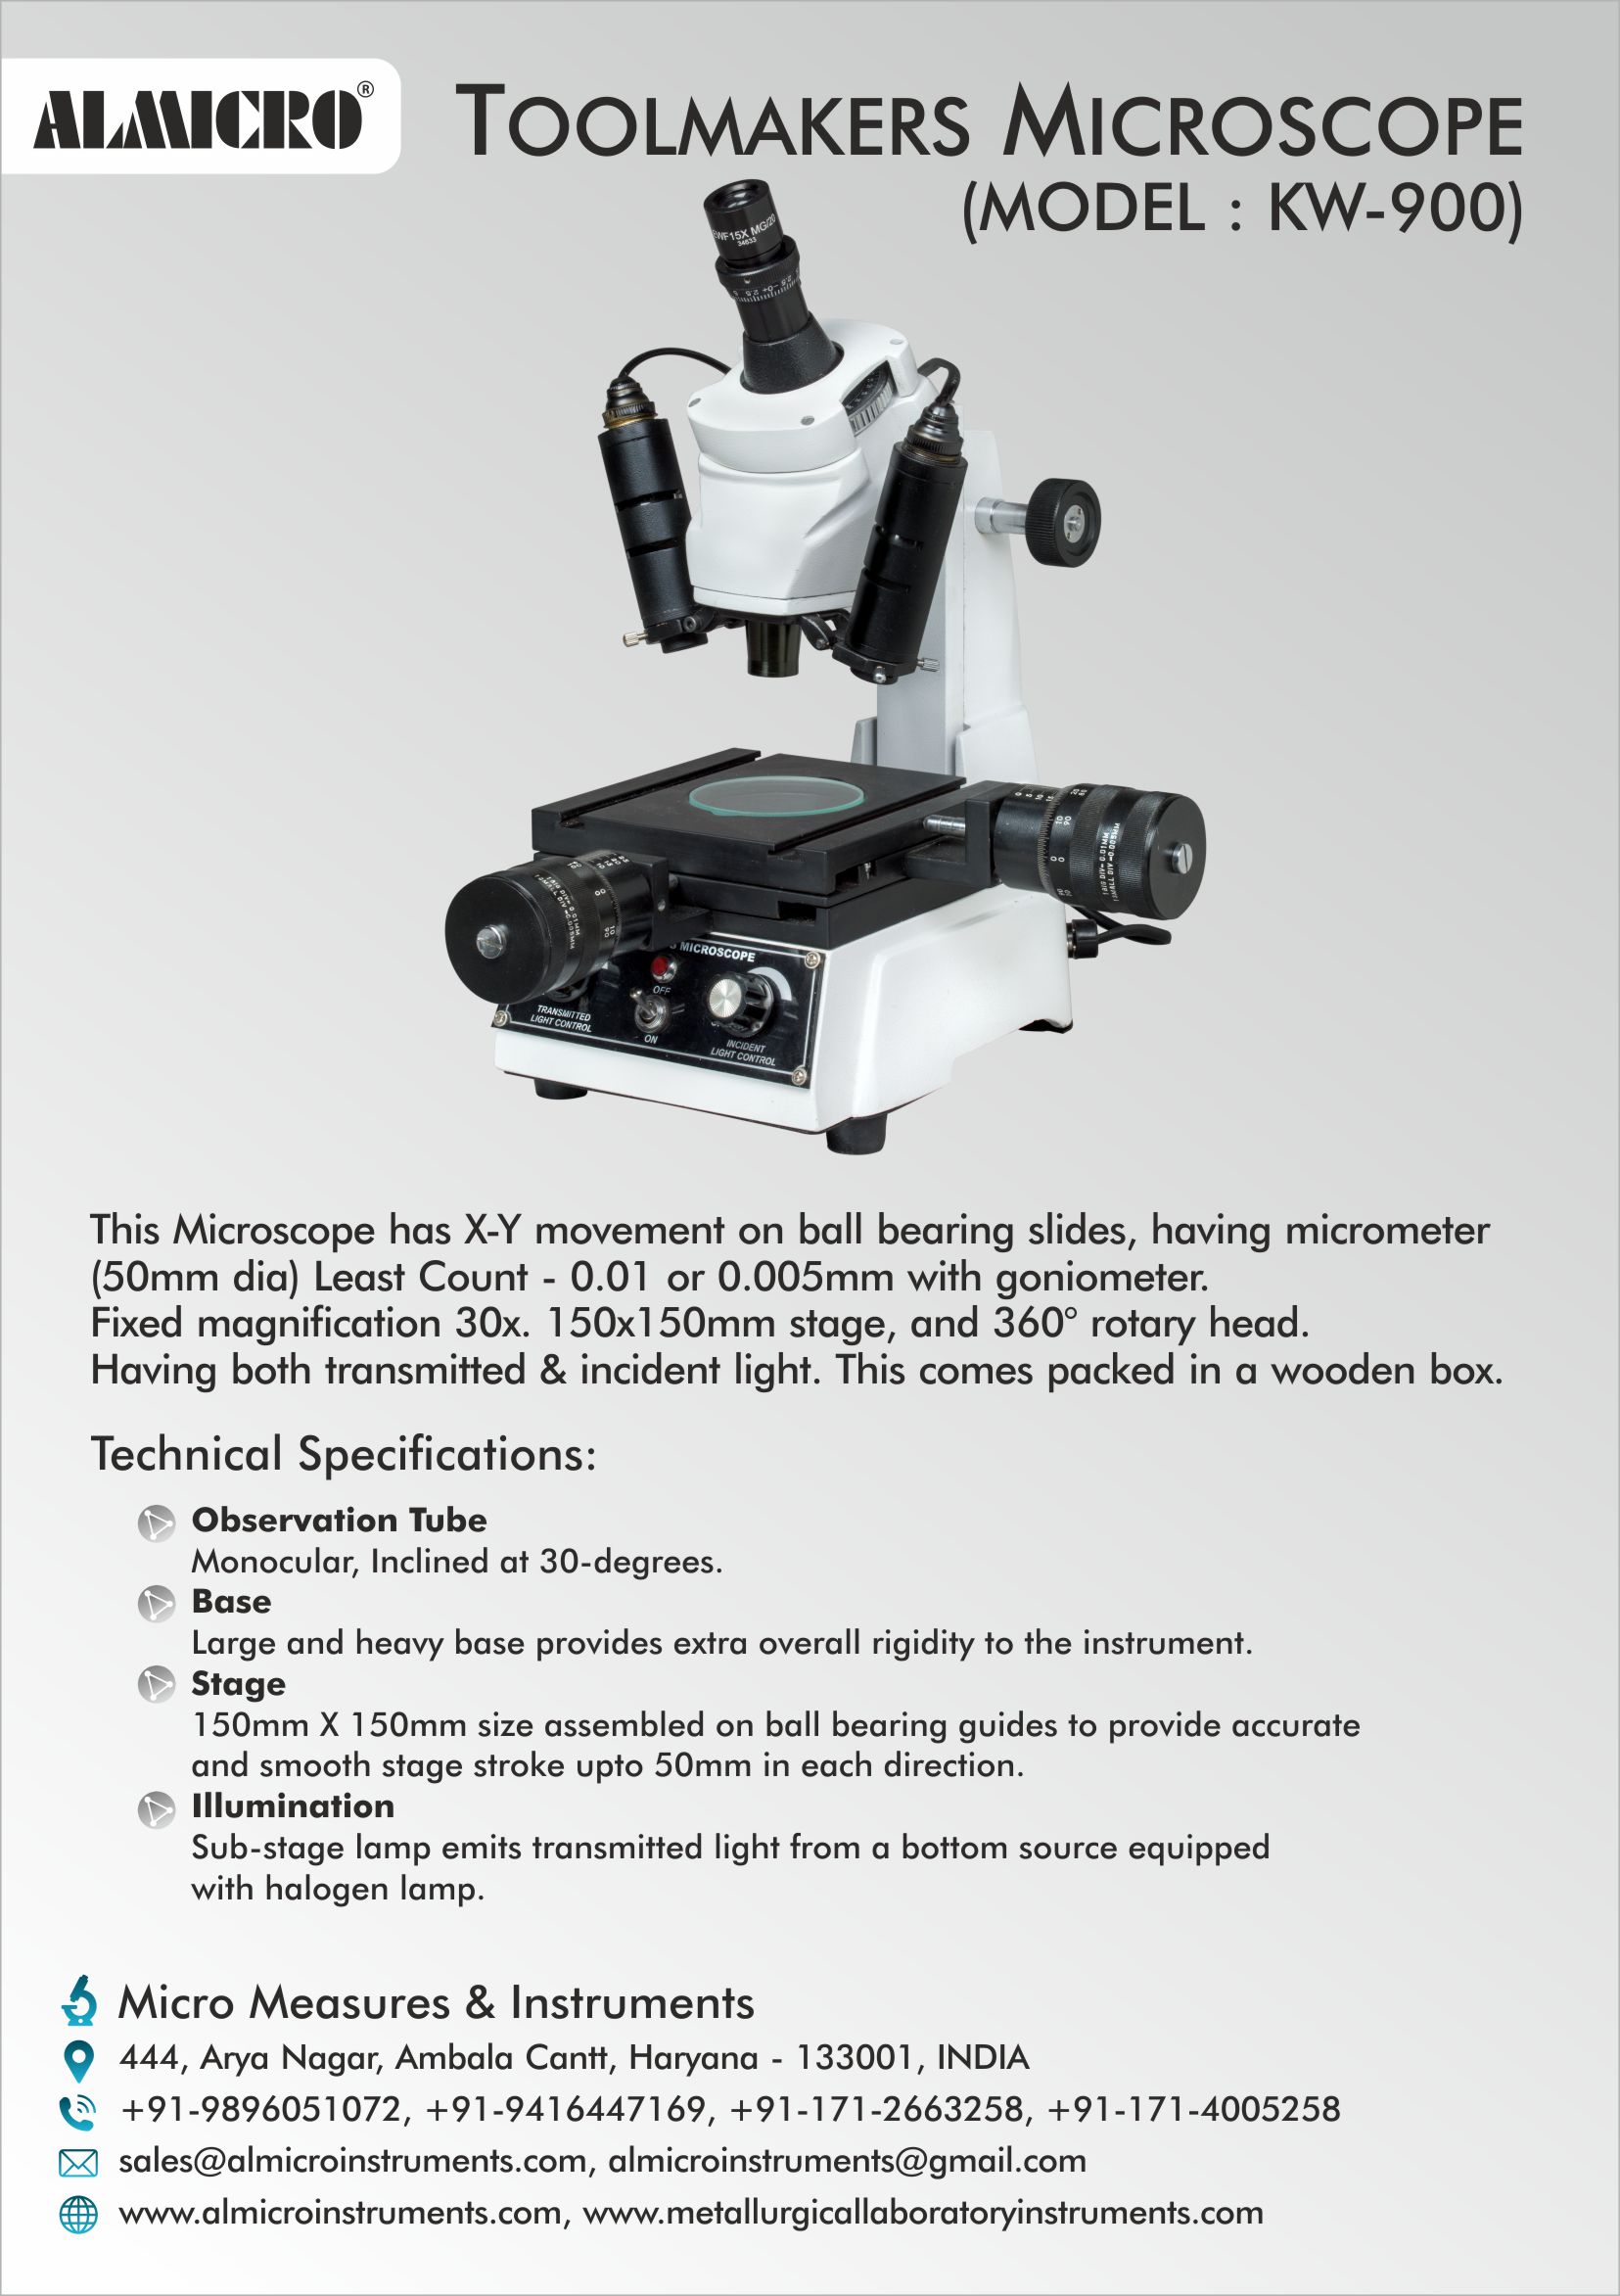
Technical Specifications – Toolmakers Microscope (Model: KW-900)
| Specification | Description |
|---|---|
| Model Number | KW-900 |
| Viewing Tube | Monocular observation tube, ergonomically inclined at 30° |
| Magnification Power | Fixed magnification of 30x |
| Micrometer System | 50 mm diameter micrometer with least count of 0.01 mm / 0.005 mm |
| Stage Dimensions | 150 mm × 150 mm precision stage |
| Stage Travel | Smooth X-Y movement with ball-bearing guides, 50 mm travel on both axes |
| Rotating Head | Fully rotatable 360-degree head |
| Lighting System | Combination of transmitted and incident illumination |
| Sub-Stage Lighting | Bottom-mounted halogen light source |
| Base Construction | Heavy-duty, rigid base for enhanced stability |
| Packing Method | Supplied in a strong wooden storage box |
Highlighted Features of KW-900 Toolmakers Microscope
-
Fixed 30x magnification ensures sharp and distortion-free viewing
-
Precision ball-bearing X-Y stage allows effortless and accurate movement
-
High-accuracy micrometer with fine least count for exact measurements
-
Spacious 150 × 150 mm stage supports stable positioning of components
-
360° rotating head enables flexible alignment during inspection
-
Supports both incident and transmitted illumination for versatile usage
-
Solid and heavy base minimizes vibration during operation
-
Integrated goniometer mechanism for accurate angular measurements
-
Inclined monocular tube reduces operator fatigue during long sessions
-
Precise 50 mm movement range in both X and Y directions
-
Bright halogen illumination delivers uniform and clear lighting
-
Delivered in a durable wooden box for protection and long-term storage
Working Principle of Toolmakers Microscope
The Toolmakers Microscope operates by directing a controlled light source onto the specimen placed on the precision stage. The magnified image is formed through the optical system and observed via the monocular viewing tube. The operator moves the specimen accurately using the X-Y micrometer controls, while displacement values are displayed on the micrometer scale. The rotating head assists in proper alignment, making it easier to examine edges, contours, angles, and surface profiles with high precision.
Applications & Use Areas
-
Tool rooms for dimensional inspection of cutting tools
-
Manufacturing workshops for examining machined components
-
Quality control laboratories for profile and measurement analysis
-
Engineering colleges and institutes for teaching precision metrology
-
Production facilities for routine inspection tasks
-
Research laboratories for detailed visual and dimensional evaluation


Reviews
There are no reviews yet.